


Flourish Software's
Printer Setup and
Connectivity Guide
Printer Setup and Connectivity Guide
Having the right seed-to-sale software, like Flourish Software, is only the first step in running your cannabis operations. You also need the right equipment, including printers.This guide provides detailed instructions for connecting and configuring your printer using three primary methods:
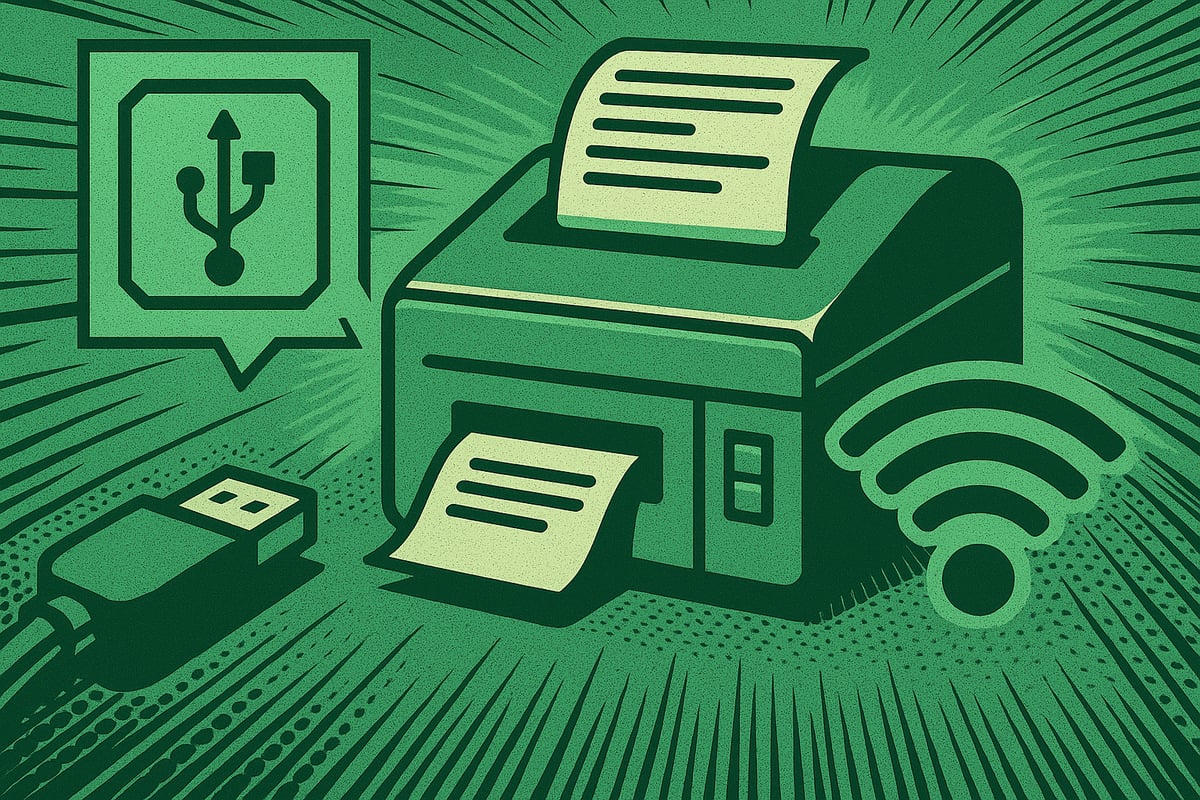
- USB
- Ethernet
- Wi-Fi Direct
🖨️Printer Connectivity Options
Printers can be connected in three main ways. Note that some models may have limitations, such as lacking Wi-Fi or Ethernet ports. Always check your printer’s
specifications before proceeding
1. USB to Computer
Overview: This is the quickest and most reliable method, where the computer acts as the host and manages the print queue.
Setup Process:
- Connect the printer to the computer via a USB cable.
- Ensure the printer is powered on and communicating with the computer.
- Install the necessary drivers (communication software) for your printer.
Limitations:
- Drivers: Drivers may become obsolete, corrupt, or incorrect, disrupting communication with the computer.
- Mac Compatibility: Mac computers require a third-party application called CUPS, which may be unreliable and infrequently updated.
- Operating Systems: Drivers are typically written for PC-based operating systems, which can cause compatibility issues for Mac users.
Troubleshooting:
- If the printer is not communicating, check for outdated or incorrect drivers and update them from the manufacturer’s website.
- Test the connection by printing a test page (see Post-Connection Steps below).
2. Ethernet to Network Device
Overview: This method connects the printer to a network device (e.g., router, switch, or firewall) via an Ethernet cable, allowing the printer to receive an IP address and communicate over the local network.
Setup Process:
- Connect an Ethernet cable from the printer to your network device (typically a router).
- The printer will receive an IP address, either automatically via DHCP or by assigning a static IP address (recommended for consistency).
- Verify the connection:
- Open a command prompt (Windows) or terminal (Mac).
- Enter the command ping xxx.xxx.xxx.xxx (replace with the printer’s IPv4 address).
- A successful ping indicates the printer is connected.
- Check for indicator lights on the Ethernet port:
- A green light typically indicates a connection.
- A yellow light may flicker, indicating data transfer.
- Add the printer to the facility’s printer list in Flourish (refer to the relevant help documentation).
Benefits:
- Bypasses the need for the computer to act as a host, avoiding operating system compatibility issues (e.g., Mac-specific problems).
- More flexible for network-wide access.
Considerations:
- If using DHCP, a power outage may result in a new IP address being assigned, potentially disrupting connectivity. Use a static IP address to avoid this issue.
3. Directly to Wi-Fi
Overview: Some printers support Wi-Fi connectivity via a mobile app, allowing wireless communication without a direct cable.
Setup Process:
- Download the printer’s mobile app and follow the setup instructions provided.
- The phone acts as the host until the printer is assigned an IP address on the network.
- Once the printer has an IP address, add it to the Flourish facility settings as you would for an Ethernet-connected printer.
- Follow the post-connection steps outlined for Ethernet connections.
Note: Ensure your printer supports Wi-Fi connectivity, as not all models have this feature.
Post-Connection Steps
After establishing the connection, follow these steps to ensure the printer is fully operational.
For USB Connections
- Test the Connection:
- Print a test page from the printer properties menu on your computer.
- If successful (a label with text prints), the printer is connected.
- If unsuccessful, troubleshoot as follows:
- Blank Pages: Likely a driver or firmware issue. Download the latest driver or firmware update from the manufacturer’s website.
- Small Text: Verify the DPI settings are correct in the printer properties.
- Garbled/Nonsense Output: Ensure the printer is configured as a raw printer and supports ZPL (Zebra Programming Language).
- No Output: Confirm the QZ Tray application is running and connected in Flourish. Print another test page to rule out driver issues.
- Flourish Integration:
- If no output is produced in Flourish, verify that the QZ Tray is active and properly configured.
For Ethernet Connections
- Locate the Printer’s IP Address:
- Check the printer’s control panel under “Print Properties” or “Printers and Scanners” in Windows.
- Alternatively, log into your router to find the device list:
- Default login credentials are often:
- Login: admin
- Password: admin
- Change the credentials after the initial login for security.
- Identify the printer’s local IP address (typically starts with 168, e.g., 192.168.15.1).
- Note: Do not use the public IP address (often starts with 10, e.g., 14.155.2).
- Default login credentials are often:
- For advanced users, configure a static IP address via the router’s subnet settings to ensure consistency.
- Test the Connection:
- Ping the printer’s IP address using the command ping xxx.xxx.xxx.xxx in a command prompt or terminal.
- A successful ping confirms the printer is on the network.
- Flourish Integration:
- Add the printer’s IP address to the Flourish facility settings (refer to the relevant help documentation).
- Test printing from Flourish to ensure proper configuration.
For Wi-Fi Connections
- Complete App Setup:
- Follow the printer app’s instructions to connect the printer to the Wi-Fi network and assign an IP address.
- Add the IP address to the Flourish facility settings, as with Ethernet connections.
- Test and Troubleshoot:
- Follow the same post-connection steps as for Ethernet connections, including pinging the IP address and testing print jobs from Flourish.
Additional Notes
- Always consult your printer’s manual for model-specific instructions.
- For further assistance with Flourish integration, refer to the linked help documentation.
- If issues persist, contact the printer manufacturer’s support or your network administrator for advanced troubleshooting.
By following these steps, your printer should be successfully connected and ready for use in your facility.